
From Claim to Closeout: A Roofer's Checklist for Job Site Success
Navigating the world of insurance-backed roofing jobs can feel like walking a tightrope. One small mistake—a missed detail, a forgotten line item, or a misunderstood code—can eat into your profits, delay your payment, and even put your reputation on the line.
The difference between a good roofer and a great one isn't just about craftsmanship; it's about having a bulletproof system. A roofing job checklist is more than a simple to-do list; it's your blueprint for a profitable, compliant, and stress-free project.
The Blueprint for a Bulletproof Roofing Job
We've all been there. You get to the end of a job only to realize you missed a crucial permit, forgot to document collateral damage, or had to fight with an adjuster over a required code item. These headaches are the top reasons roofing jobs fail to hit their profit targets. The solution? A repeatable, step-by-step checklist to guide your team through every phase of the project.
We've broken down the entire process into five essential phases. While we’ll give you a taste of each one here, the full, detailed checklist is available for download in a free PDF.
-
Master the Inspection & Documentation
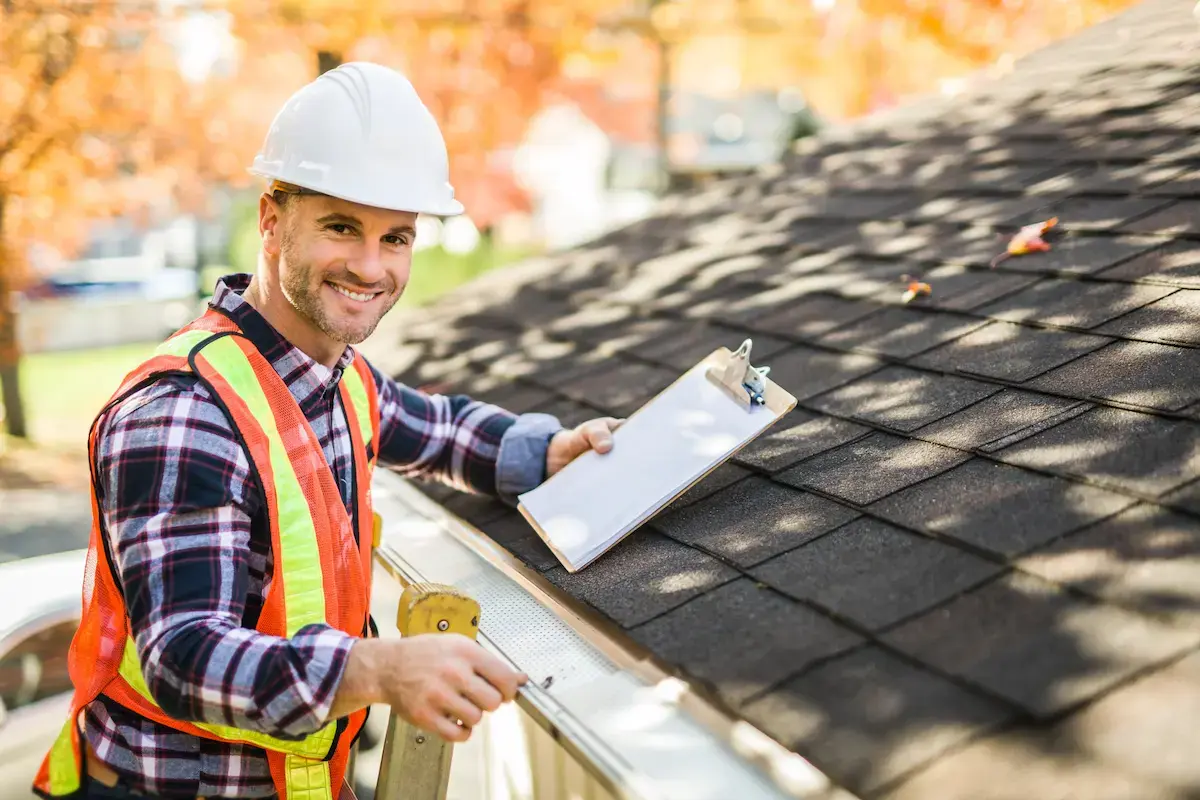
This is your foundation. A thorough roofing inspection and detailed documentation are non-negotiable for a defensible claim. It's about taking more than just a few photos. You need to capture everything: all slopes, gutters, vents, flashing, and collateral damage. Use digital tools to organize and label every photo and note, creating an irrefutable record that's impossible for an adjuster to argue with.
-
Build a Winning Estimate & Claim
Getting paid hinges on the quality of your estimate. This goes beyond just counting shingles. You have to include all code-required items, from ice and water shield to drip edge and proper ventilation. If the adjuster’s initial estimate is missing these items, you need to know how to supplement them with the right documentation. Your estimate isn’t just a cost; it’s a detailed plan of attack for the entire roofing claims process.
-
Confident Negotiation & Communication
Your expertise is your most powerful tool. When you meet an adjuster on-site, you’re not just a contractor—you’re an expert. Provide code documentation to back up every line item. Be a clear, professional advocate for the homeowner, keeping them in the loop on every step of the process. This builds trust and ensures a smoother, more transparent experience for everyone.
-
Ensure a Flawless Build & Compliance
This is where the rubber meets the road. Before any work begins, you must pull the proper permits. During the build, it's critical to follow both manufacturer requirements and local building codes, even if the insurance estimate doesn't account for them yet. Doing the job right the first time prevents costly callbacks, liability issues, and protects your roofing warranty.
-
The Final Steps to Getting Paid
You did the hard work—now it’s time to get paid. A clean, organized closeout process is your final push. Submit all completion photos, deliver the final invoice, and provide all necessary warranty documents to the homeowner. A smooth, professional closeout is the key to faster payments and a solid reputation.
This is just the tip of the iceberg. We’ve put together a comprehensive, step-by-step roofing job checklist to guide your team through every single project. It includes all the details and pro tips you need to avoid mistakes, stay profitable, and build a thriving roofing business.
Download our free, printable PDF checklist today to ensure every job is a success.